How can we help?
How To Create URL Redirects & Shortened URLs in Fern CRM
Creating short, branded vanity links is super easy in your 🌿Fern CRM dashboard.
Some examples of when to use URL redirects:
- shorter links for social media posts
- ex: ferncrm.com/cx-examples could lead to: https://blog.ferncx.com/elements-of-an-amazing-cx/
- having a branded link for an affiliate link to someone else’s offers
- ex: ferncrm.com/butter leads to our affiliate link for the butter app
- having an easy-to-remember link for your YouTube channel, Zoom meetings, etc.
- ex: ferncrm.com/tv leads to our YouTube channel but we could also use something like ferncrm.com/office-hours to open the Office Hours meeting link
- having the flexibility to change what page an URL opens after you’ve shared it
- ex: ferncrm.com/workshop could lead to a workshop that promotes the offer we’re currently promoting, but maybe we want to swap out which workshop that leads to every quarter. By using an URL redirect, we can simply change the URL in the redirect settings and it will affect everywhere you’ve already shared the link. So you don’t have to worry about people opening that email months after that offer has expired or finding that social media posts 6 months after the event is over. They’ll still be directed to your current offer.
- ex: when you’re a guest on a podcast and they share your links with the listeners, use an URL redirect in case you need to change what that links leads to after the show has been published. That way you can keep it current long after the show airs.
- ex: you’re creating a QR code or image or printed materials that you know you can’t change once it’s out there. Use an URL redirect so you can make adjustments as needed.
- when you migrate part of your site, blog, courses, experiences, etc. to Fern CRM and the URL structure will be different from what it was
- ex: let’s say your blog used to be at https://blog.yourdomain.com/ but now it’s at https://yourdomain.com/blog. The best way to handle that is to set up a conditional redirect in Cloudflare (we can help you with that, just come to an Office Hours session!) But if you’re in a rush or you have some reason you can’t do that in your DNS platform, you can still connect blog.yourdomain.com to your Fern CRM account and then create a URL redirect so that your old link still points to your new blog.
Step 1 ~ Open the URL Redirects page
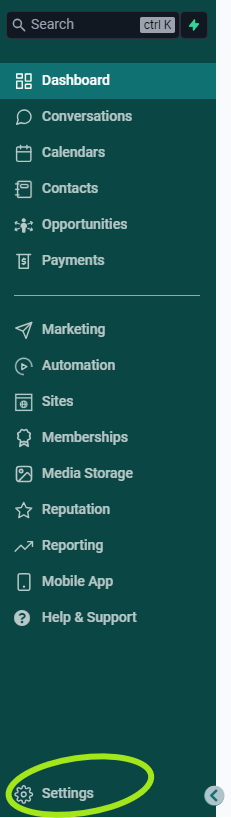
Open your CRM dashboard and click “Settings” in the left sidebar.
Once you’re on the Settings side, scroll down on the left sidebar until you see “Domains & URL Redirects”. Click on it to open that page.

Once you’re on that page, look at the tabs near the top of the page and click on the “URL Redirects” tab.
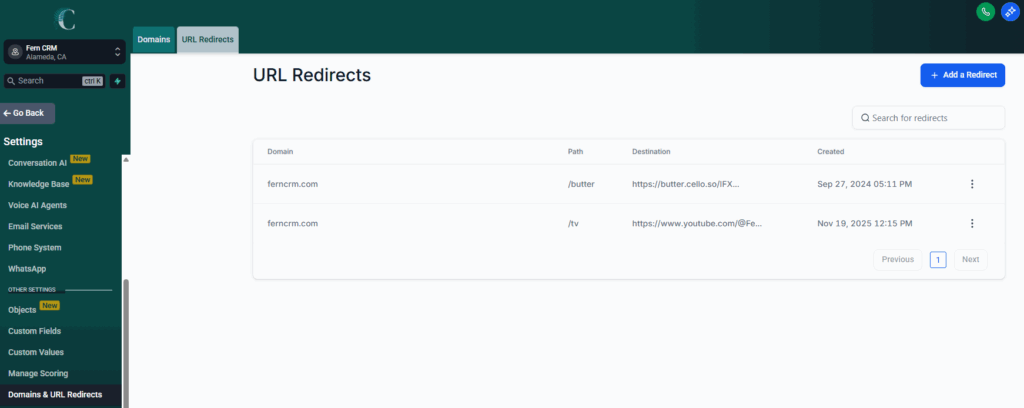
Then click the blue button to [+ Add a Redirect] and a window like this will pop up:
Step 2 ~ Enter your info
Fill out the fields in the popup window with your desired info. All fields are required in order to save the info and create the link.
In the field labeled, “Domain,” choose the domain you want to use from the dropdown menu (it will only show domains that you’ve connected to your Fern CRM account.)
In the field labeled, “Path,” add what you want the URL to say after your root domain. Be sure to include the forward slash at the beginning. For example, if you wanted to create this URL:
ferncrm.com/tv
This is what you’d enter in the “Path” field:
/tv
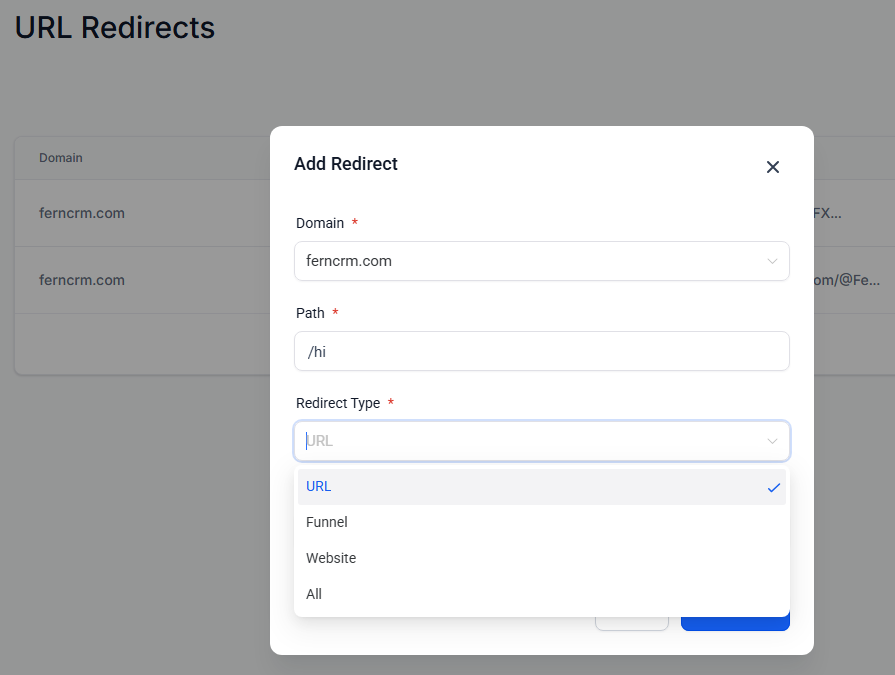
Next, use the dropdown menu under the label, “Redirect Type” to choose what you want to redirect to.
“URL” means you’re going to type in the exact URL you want it to point to. “Funnel” means you’re going to choose from a list of funnel pages you’ve built in Fern CRM. “Website” means you’re going to choose from a list of website pages you’ve built in Fern CRM.
(“All” is confusing, I’m not even sure how it differs from “URL.”)
If you want the URL to lead to a web page or funnel page you built in Fern CRM, you don’t even need to know the exact URL! Just choose the one you want from the dropdown menu.
Once you’ve selected your URL “Redirect Type,” the next field will change in relation to what you chose. If you selected “URL” it will be an empty field where you’ll type the full URL like this:
https://help.ferncrm.com/articles/url-redirects-shortened-urls/
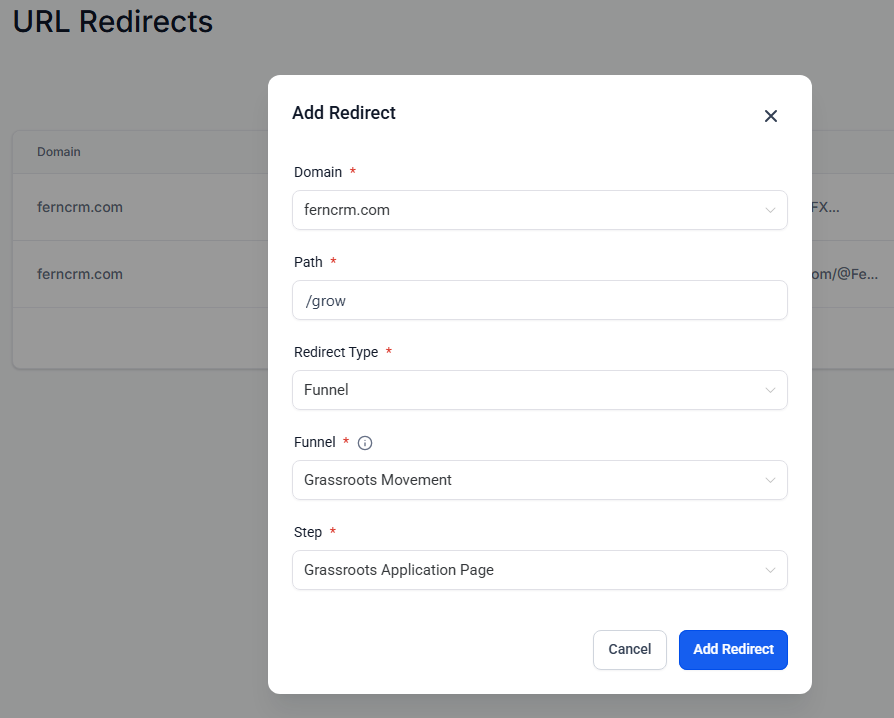
If you selected “Funnel” or “Website,” then the next field will be a dropdown menu of the ones you’ve published in your Fern CRM account.
Under the label, “Funnel” (or “Website”), choose the Funnel/Website from the dropdown list.
Under the label, “Step” (or “Page”), choose the specific step/page you want the URL redirect it to lead to.
Step 3 ~ Save & share!
When you’re done filling out all the fields, click the blue [Add Redirect] button in the bottom right corner to save your work and create the URL.
Share your new URL redirect everywhere it’s needed!