How can we help?
DIY Setup ~ Social Media DMs And Scheduling Posts
If social media isn’t something you want to focus on during your free trial, then skip this step and jump into the step that matches your goals.
But if you’re looking for an easy way to get started using Fern CRM right away, using the all-in-one inbox for DMs and the Social Planner for scheduling posts is one of the easiest things to set up. (And you can start automating comment replies/DMs too, once you’ve connected Fern CRM to your social media accounts.)
There’s 2 different types of social media integrations inside your Fern CRM account.
- One connects to your social media inboxes so you can receive and reply to DMs.
- The other connects to your social media posts, so you can schedule and publish content.
In addition to messages and posts, there’s a third social media feature you might be interested in ~ automated comment replies. This is where you can use the Fern CRM automations to instantly reply to comments and like/reply to the comment and/or send them a DM.
To use the automated replies feature, you’ll need to connect your social media inboxes, the same as you would for receiving/replying to DMs.
If you’re interested in doing all of the above, then follow all the steps in this article. If you’re only interested in one of these things, you can skip ahead to the part you’re interested in.
Connect Your Inboxes For DMs
To connect your social media inboxes to your Fern CRM all-in-one inbox, start by logging into your Facebook and/or Instagram accounts from the same browser window that you’ll be using to connect your accounts. (You can open multiple tabs and stuff, just make sure you’re logged in before starting this process. It simply makes it go smoother.)
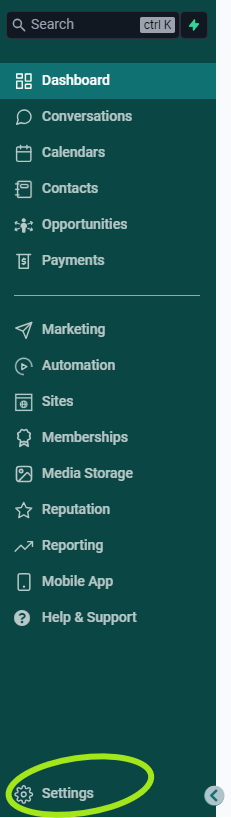
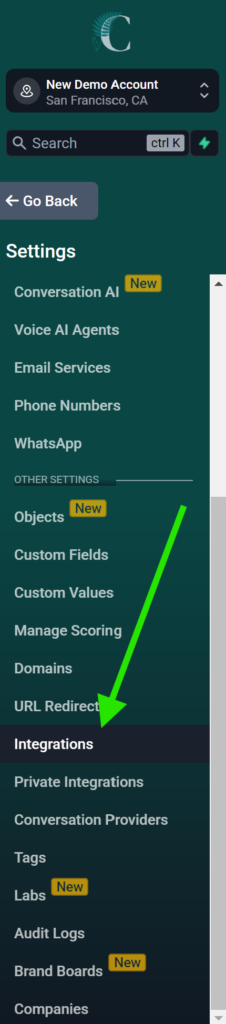
Next, go to the Settings side of your Fern account and choose “Integrations” on the left sidebar:
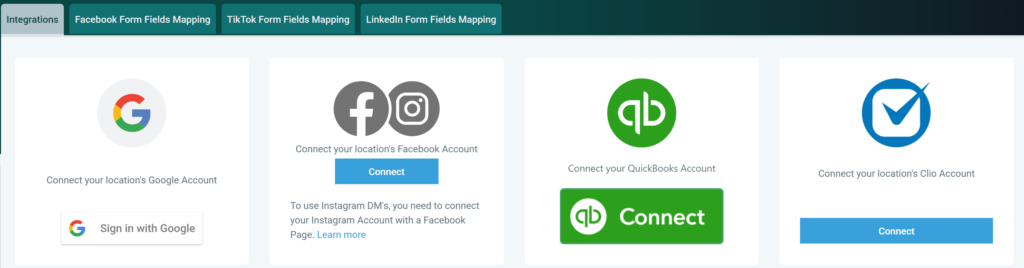
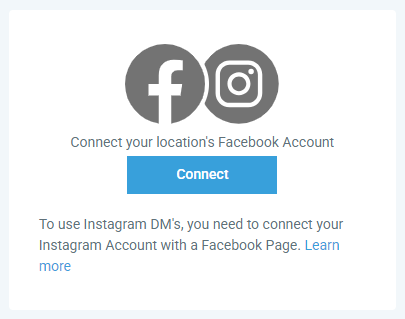
Now that you’re on the Integrations page, find the one with the Facebook and Instagram logos. Click the blue “Connect” button to begin the process:
(Even if you only want to use Instagram, you still need to “connect to Facebook” because that’s the way Meta does things.)
Click the “Connect” button and follow the prompts.
A popup window will open, asking for your consent to connect to your Facebook account. As long as it shows the correct name, click the blue “Continue” button on the left.
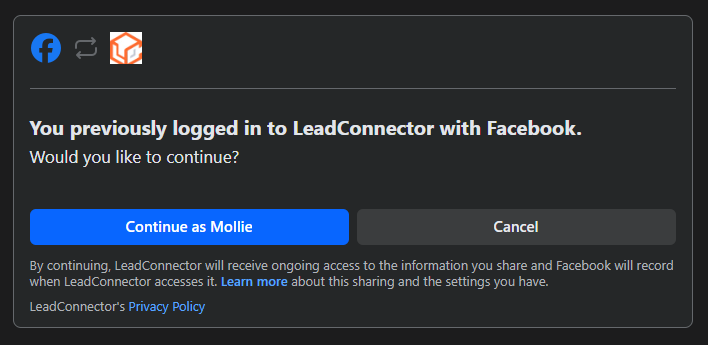
If you run into any issues, jump to the Troubleshooting section below: Troubleshooting connection issues
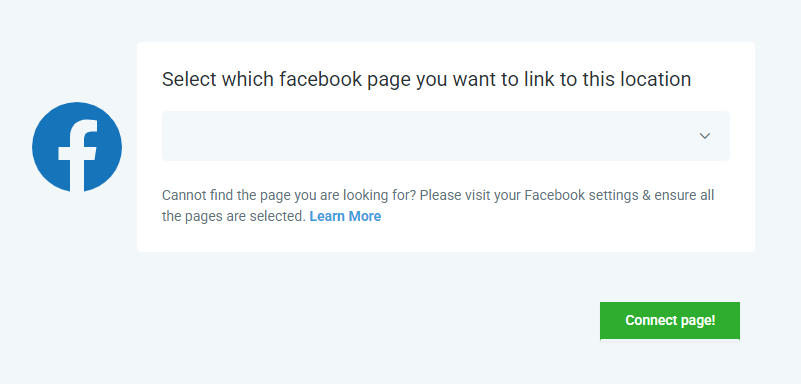
That same window will go blank temporarily while it’s connecting things and then you’ll see something like this. When you click on the dropdown menu, you’ll see a list of Facebook pages that are associated with your Facebook account.
Choose the one(s) you want to connect to your Fern CRM account. Then click the green “Connect page!” button to continue.
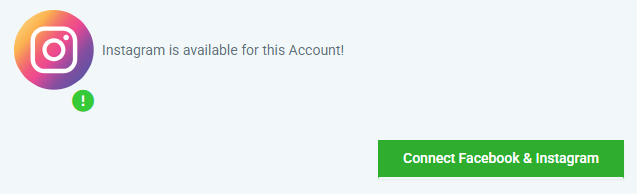
If your Instagram account is connected to your Facebook account (99% of the time it is) you’ll see this appear next.
If you want to connect your Instagram account to your Fern CRM account, click the green button that says, “Connect Facebook & Instagram.”
This will continue the process and return you to the Integrations page in your Fern CRM account.
If you don’t want to connect your Instagram account, that’s OK too! Just x out of this window and your Fern CRM account is already connected to your Facebook account.
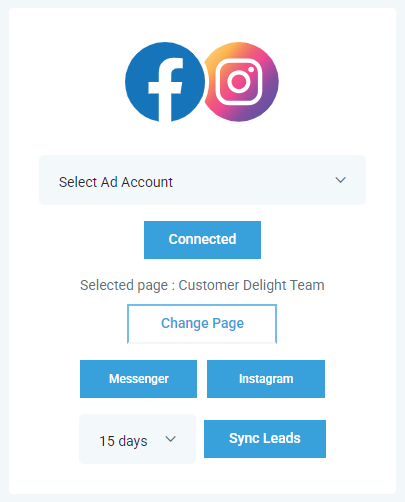
When you’re done, it will probably look something like this. ➡️
Congrats, you’re ready to use your all-in-one inbox! 🥳
Using your Fern CRM inbox for DMs
Once you’ve successfully connected your Facebook and/or Instagram accounts, you’ll start seeing all new DMs show up in the Conversations tab of your CRM.
Want to test it? Click here!
Keep this page open while you pop over to our page on Instagram (if you connected your Instagram account) or Facebook (if you connected your FB account).
https://www.instagram.com/ferncxandcrm
https://www.facebook.com/ferncxandcrm
And send us a DM that says:
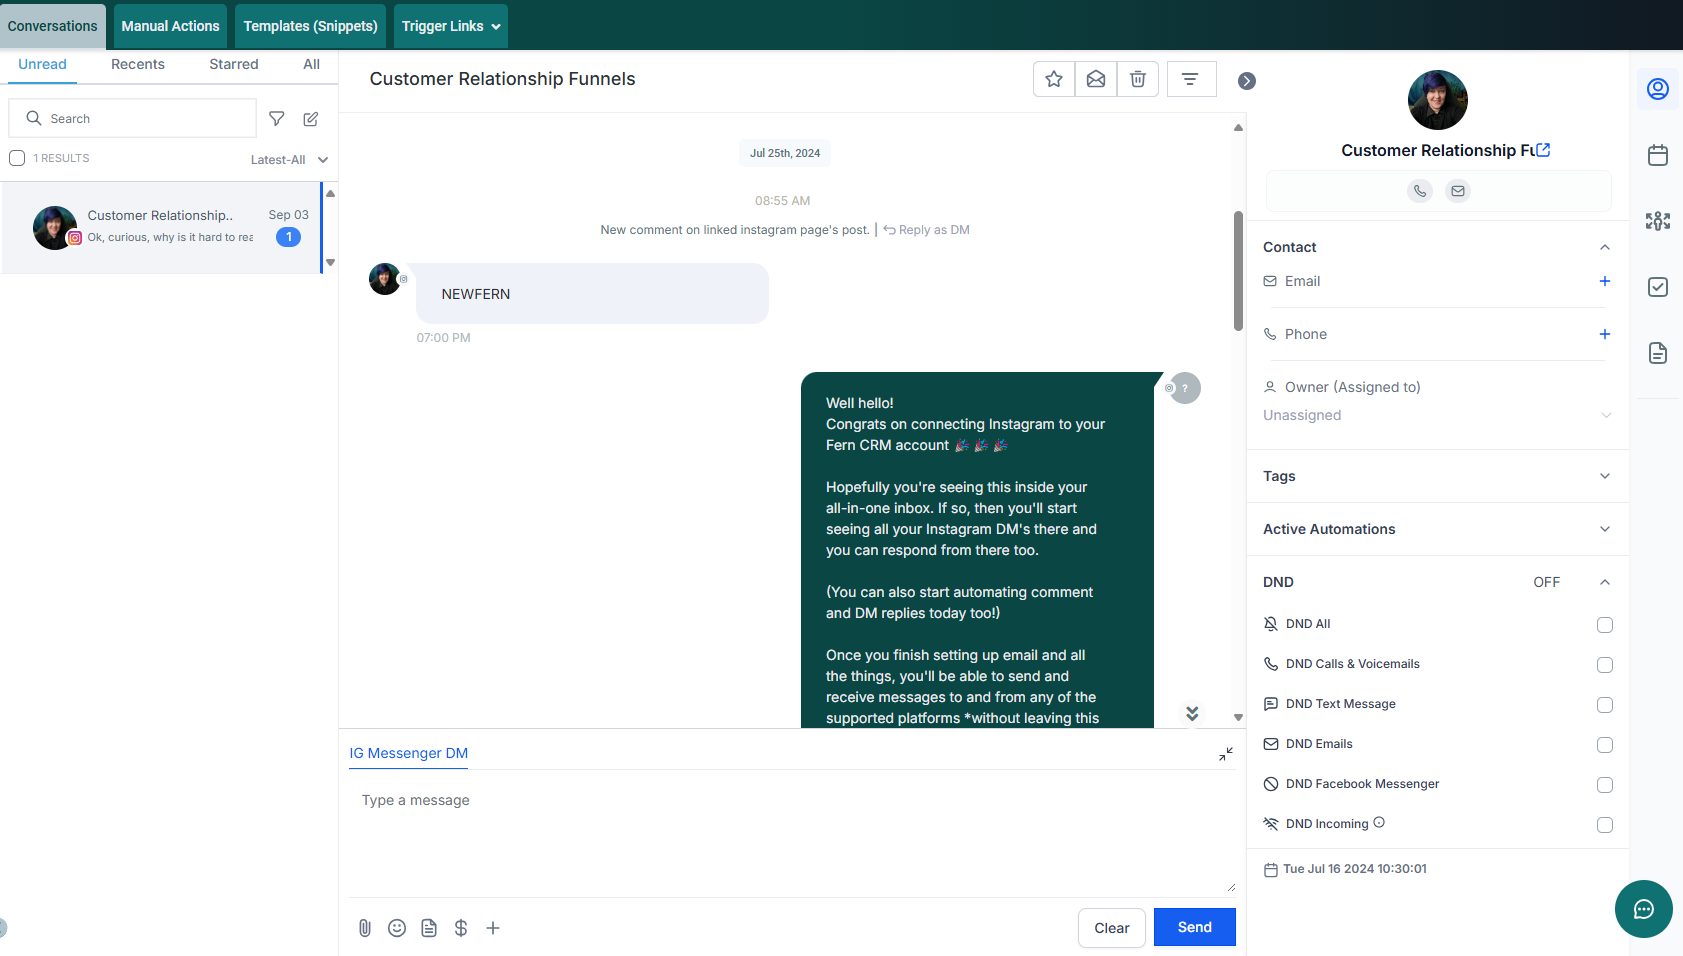
NEWFERN
We’re going to instantly message you back, but you’re going to look for the message in your Fern CRM inbox instead.
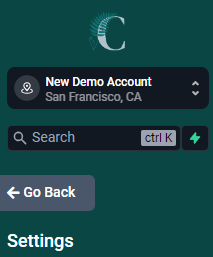
Once you’ve sent the DM, go back to your Fern CRM account. If you’re in the “Settings” side, click the “Go Back” button at the top of the sidebar to go to the “Main” side of your account:
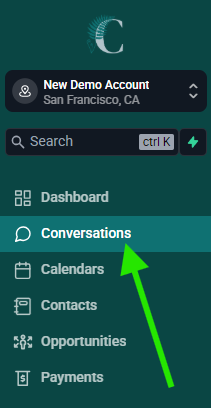
Once you’re back on the “Main” side of your Fern CRM account, find “Conversations” in the left sidebar and click it to go to your all-in-one inbox:
You should immediately see an Instagram DM response from us in your all-in-one inbox!
(If not, refresh the page or wait 10 seconds and refresh the page.)
After a while, you may notice that you’re starting to see DMs show up as a separate contact in your contact list for people you already have on your list. That’s because they are using a slightly different name for their social media handles than the name they used when they signed up or bought something from you.
Which is why Fern CRM has a “merge contacts” feature that makes it easy to combine the 2 profiles into one, so you can see all conversations in one thread. And, once you merge them, they’ll stay merged, even if they change their social media handle. (Because it’s based on their Instagram or Facebook ID number, not the name itself.)
So when you get to that problem in the future, come back to these Help Docs and search “merge” or “Instagram” to get the step-by-step solution.
Connect Social Media For Publishing Content
It only takes a couple of clicks per platform to connect all your social media accounts to Fern CRM.
Once connected, you can start using the Social Planner to schedule/publish content and see all your stats from every platform in one side-by-side view.
List of platforms you can publish to from Fern CRM
Here’s the current list of platforms you can integrate with Fern CRM for the purpose of publishing content, as of January 2026:
 Google Business Profile (GBP)
 Facebook
 Instagram
![]() Threads
Threads
 Linkedin
 TikTok
 Pinterest
 Youtube
![]() Bluesky
Bluesky
You can also use the Social Planner to schedule posts in the Communities you build inside Fern CRM. Communities are automatically connected to your Social Planner without any additional steps needed.
Watch Video Tutorial
Jump to any of the following moments in the video by clicking on them:
0:17 Quick overview of where to start
0:39 Connecting Instagram as the example
2:07 Connecting to more accounts after you’ve connected one
2:15 Connecting Pinterest as another example
2:37 What to do if you run into issues when connecting Facebook or Instagram
These links are also included in the video description on YouTube, so you don’t have to toggle back and forth each time.
Once you’ve connected your social media account, you can start scheduling/publishing content right away. Pop over to this Help Doc for a quick walkthrough of how easy it is to use the Social Planner: How To Use The Social Media Planner
Automating Facebook & Instagram Comments & DMs
Once you follow the steps in the first section (Connect Your Inboxes For DMs And/Or Automations), you can start automating comment replies and DMs from your Fern CRM account.
The most popular use of this feature is publishing a post or reel that includes a call-to-action to leave a comment with a specific keyword. When people comment with that word or phrase, the automations can like the comment, reply to the comment, and/or send them a DM.
So you might say something like, “I go into this topic more in my free ebook. Comment “bicycle” and I’ll DM the link to download it.” Each time someone comments with the word “bicycle”, the automations send a DM with whatever message you want and the link. (And it’s up to you whether they can say the word “bicycle” anywhere in the comment or if that has to be the only word in the comment.)
To start using this feature, first connect your Facebook and/or Instagram inboxes to Fern CRM using the steps above. Then follow the steps in this tutorial: How To Automate Facebook Or Instagram Comments & DMs [Coming soon]
Troubleshooting connection issues
If you have any trouble connecting your Facebook or Instagram pages, it’s probably an easy-to-fix permissions issue in your Meta/Facebook settings.
Start by following the steps on this page, right here in the Help Docs. Click on the “Facebook Pages missing…” headline to open the full article:
If the steps in that article don’t completely solve the problem, try these links:
Or book a 1:1 with us, post in the Fern Brain Trust community, or come to Office Hours to get help with this!