How can we help?
How To Edit & Use Custom Values [Quick Version]
Custom values is one of the best parts of Fern CRM because it let’s you create short snippets of code to use on webpages, emails, text messages, contracts, invoices, and oh so many places that you can instantly update EVERYWHERE by changing the value in ONE PLACE.
If that’s confusing right now, trust me you’ll fall in love with it soon enough!
If you followed the scavenger hunt when you first joined Fern CRM, you would’ve filled out a form inside your Fern CRM account to turn your brand details into custom values:
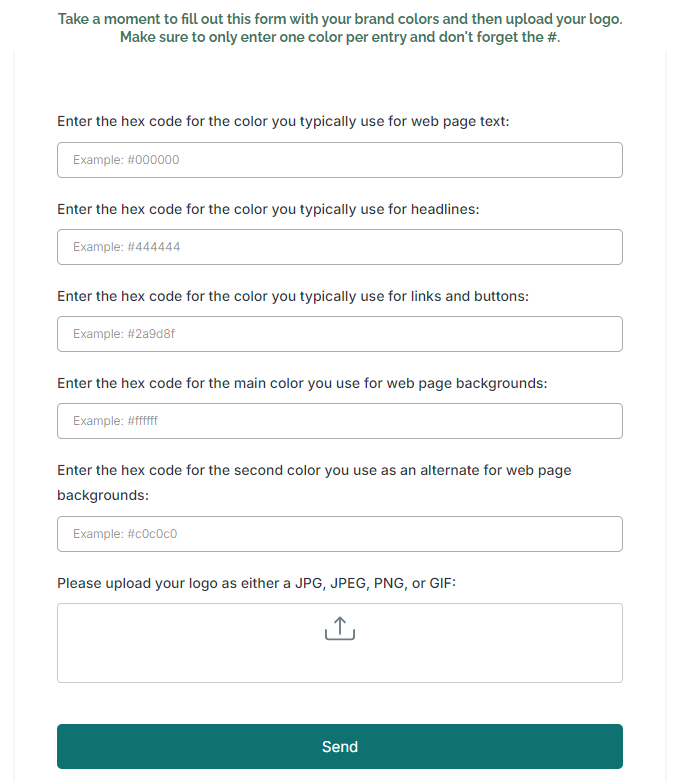
This form automatically updates some of the Custom Values in your Fern CRM account.
You can find those magical values, edit them, add new ones, delete the ones you don’t want, etc. by going to the Custom Values section of your Settings dashboard.
Video Walkthrough
Watch this quick 3-minute video and/or follow the steps below to navigate to your Custom Values, change them, and start using them:
(Captions are included at the bottom of the video screen.)
Custom Values in Settings
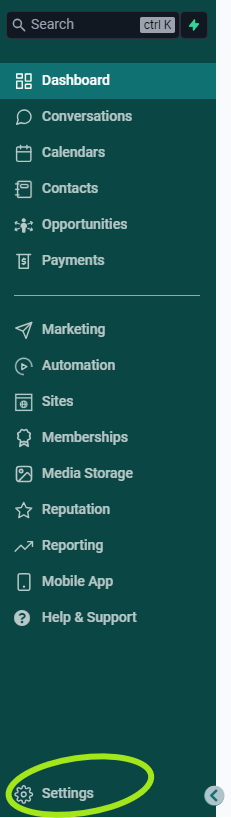
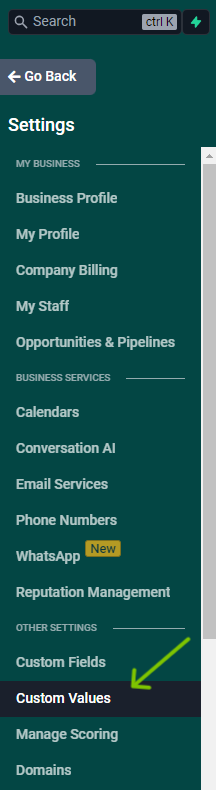
Log into your account and click on Settings in the left sidebar. On the Settings side, click “Custom Values” in the left sidebar.
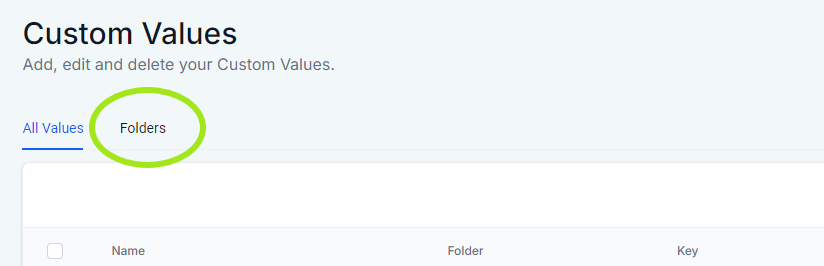
Once you’re inside the Custom Values tab, you’ll click on Folders:
Inside the Folders tab, you’ll see a folder called “Branding”:
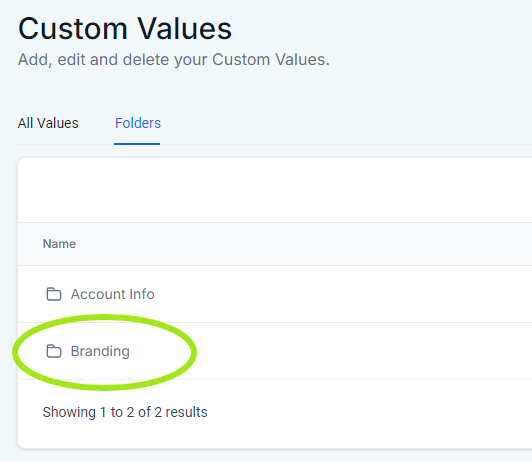
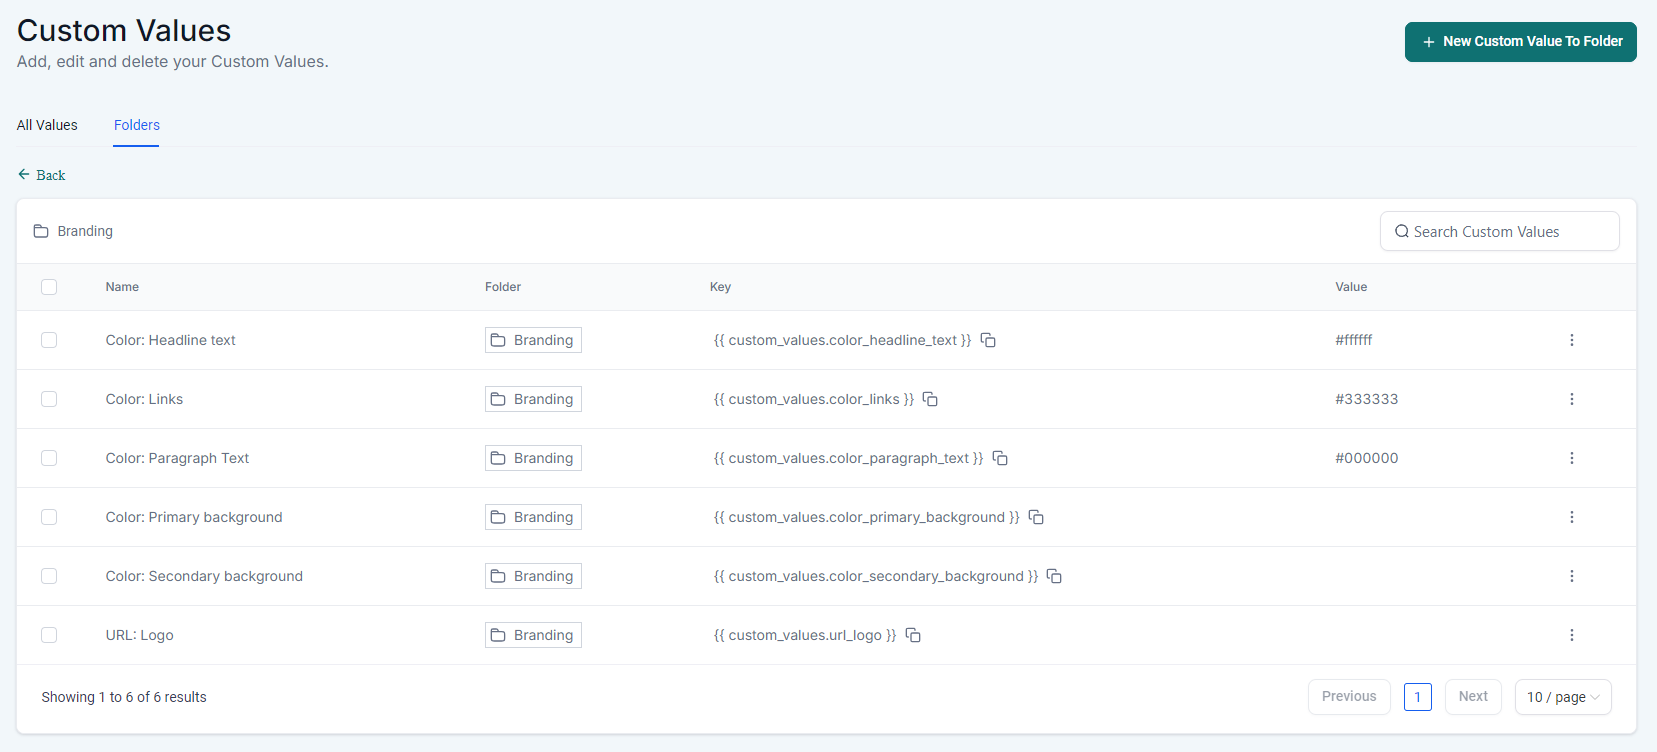
Click on “Branding” to open that folder. Inside, you’ll see a list of custom values.
If you filled out the Branding Form inside your NEWFERN funnel, then your custom values will have something in the “value” column like this:
To change the values, click on the 3 vertical dots next to the value you want to change and choose “Edit Custom Value”:
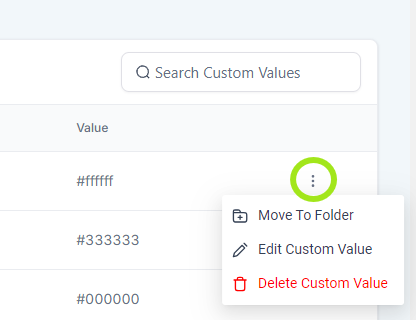
That will open a pop-up window where you can add/change the value and save it.
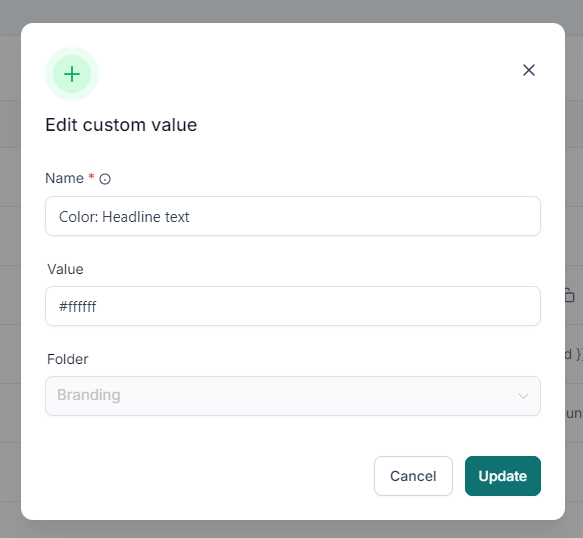
When you’re done, click the “Update” button to save your changes.
Now you’re ready to use those Custom Values almost anywhere!