How can we help?
How To Hide Pages (Websites, Funnels, Stores, Blogs) From Search Engines
Quick and easy tips you can do inside your Fern CRM account that work for any web page (including funnel pages, etc.) built in Fern CRM.
In this article, you’ll see how to hide individual pages or whole funnels/websites from search engines. We’ll cover how to add a snippet of code to your site’s header code and how to add/remove pages from your Sitemap.
Adding the header code tells all search engine bots that you don’t want this page to be “indexed” (shown in search results.) Search engines can technically ignore this request, so the only way to truly hide content from search engines is to put it somewhere people have to login to see it.
After following this process, you should also check whether the pages you want to hide are included in your domain’s Sitemap. (Go to this Help Doc for that process.)
Your Sitemap helps search engine bots (and humans) navigate your site efficiently. It’s like the store directory at a mall that shows you what’s available and how to fast travel to it. So if you want to hide a page from search engines, it’s wise to remove it from your sitemap as well.
Adding Header Code
You’re going to add this snippet of code:
<meta name="robots" content="noindex, noarchive, nosnippet" /> Just copy that line of code (starting with the bracket pointing to the left “<” and ending with the bracket pointing to the right “>” that you see in the code snippet above.)
And you’re going to paste that code into the header code or tracking code for any web page you want to hide. (Keep reading for where to find that.)
Option 1: hiding individual pages (funnels, sites, stores)
If you want to hide the entire website, store, or funnel, use Option 2 below.
Open a web page or funnel step that you want to hide from search engines. (Like your Order Confirmation/Thank You pages, Contact page, Calendar pages, etc.)
In the top menu bar, find the icon that opens the Tracking Code editor and click it. It looks like this:
</>
At the time this article was published, the Tracking Code icon is the 4th from the left – between a single page (for “Pages”) and a paintbrush (for “Custom CSS”).
Once you click on the Tracking Code icon, it will open a pop up window that looks like this:
Enter the code snippet, then click the blue [Save] button.
<meta name="robots" content="noindex, noarchive, nosnippet" /> Just copy that line of code (starting with the bracket pointing to the left “<” and ending with the bracket pointing to the right “>” that you see in the code snippet above.)
Option 2: hiding whole funnels, websites, and/or stores
To hide ALL the pages in a particular funnel, website (all the pages in that specific website “folder” in your Fern CRM), or Store, you’ll follow the same steps as Option 1, but you’ll place the code snippet somewhere different so you don’t have to add it to every page.
Open the website, funnel, or store you want to hide from search engines. (For example, you can put all your legal docs and other pages you want to hide into a separate “website” folder than your home page, about page, etc. and then hide all the pages at once while leaving your home page, etc. visible to search engines.)
Once you’re in the website, funnel, or store that you want to hide, open the Settings:
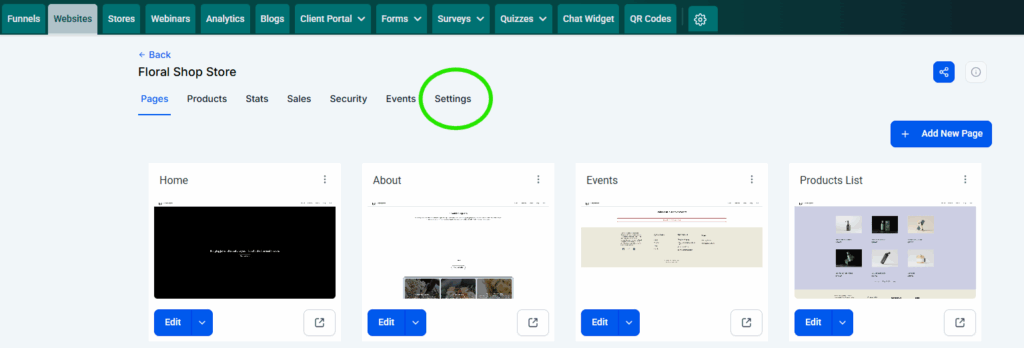
Once you open the Settings, it will look like this:
Find the box labeled “Head tracking code” and add the code snippet to hide every page in this site/funnel/store from search engines:
<meta name="robots" content="noindex, noarchive, nosnippet" /> Just copy that line of code (starting with the bracket pointing to the left “<” and ending with the bracket pointing to the right “>” that you see in the code snippet above.)
When the code is in place, scroll down and click the blue [Save] button:

Once it has saved, it will return you to the main site page:
That’s it! Now you don’t have to add the code to every page in this website.
Option 3: hiding your blog from search engines
Since Fern CRM gives you the option to publish multiple different blogs, you may end up having some blogs for SEO purposes and others that you’d rather offer as a service but keep hidden from search engines.
Once again, search engines can choose to ignore your request to not show your pages in search results, so if you want to truly hide information from search engines (or the public) then it’s better to put that content into a course or community where users have to login to see it.
To hide a blog from search engines, you’re going to use the same snippet of code, you’ll just add it in a different spot. Start by going to the Blogs dashboard:
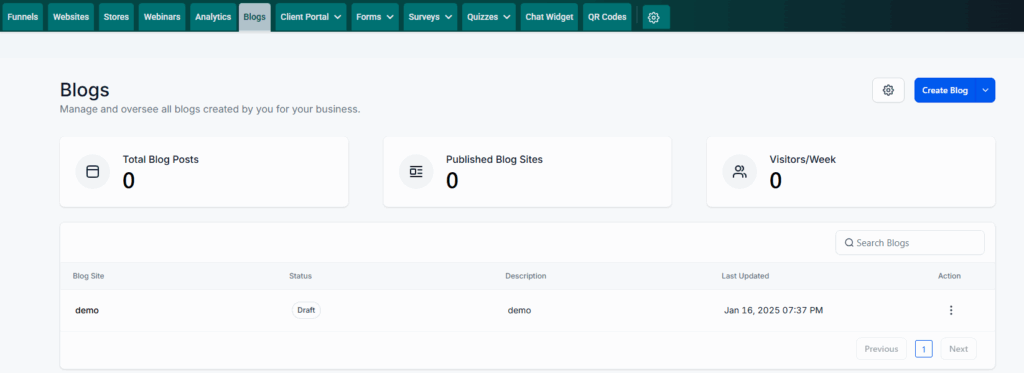
To hide ALL the blog posts in a particular blog, we’re going to enter the code snippet in the Header Tracking Code box for that specific blog “site.”
To do that, click on the Blog Site’s name in your list of blogs. In the screenshot above, the only blog in the list is named, “demo” so you’d click on demo to open it.
The page that opens will look something like this:
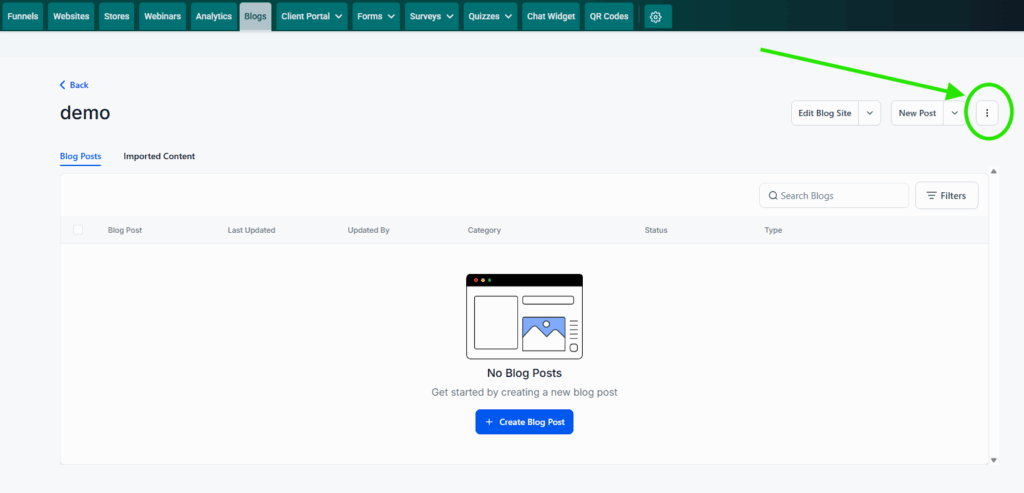
If you’ve published any blog posts yet, they would be displayed in a list on this page. To get to the advanced settings for this blog site, click on the 3 vertical dots in the top right corner (circled in the screenshot above), next to the buttons for [Edit Blog Site] and [New Post]. Once you click on the 3 dots, it will show a dropdown menu with “Settings” as one of the options.
Click “Settings” to open the Settings page for this blog which looks something like this:
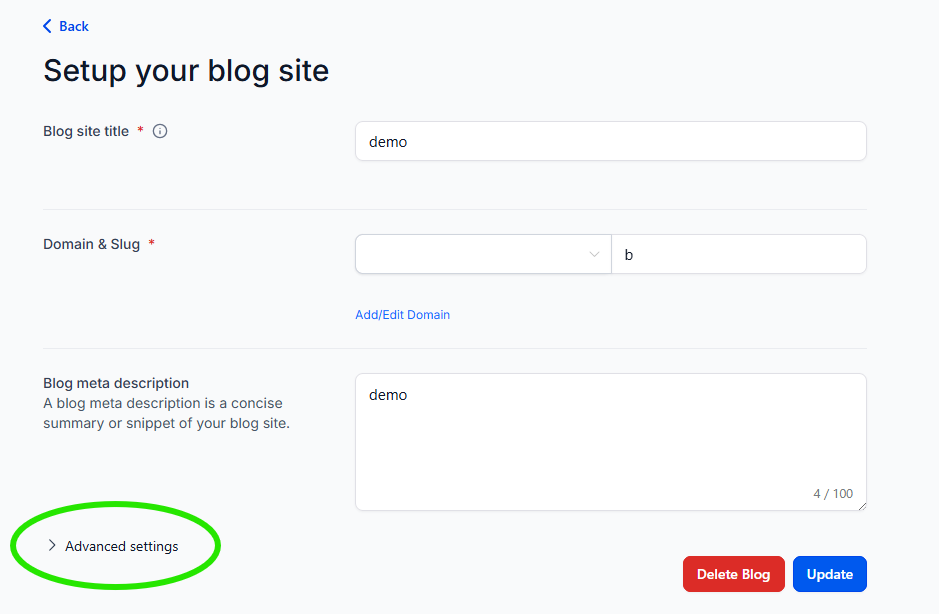
Find the [ > Advanced Settings ] link in the bottom right corner (circled in bright green in the screenshot above) and click it to get to the Header Tracking Code settings:
Scroll down until you see the field labeled “Head tracking code” and add the snippet of code to that box:
<meta name="robots" content="noindex, noarchive, nosnippet" /> Just copy that line of code (starting with the bracket pointing to the left “<” and ending with the bracket pointing to the right “>” that you see in the code snippet above.)
Once the code snippet is in place, click the blue [Update] button to save your settings.
Option 3: hiding your blog from search engines
I can’t think of a use case for this, but if you want to let search engines see/show your individual blog posts, but you want to hide the blog’s home page, it works just like Option 1 for hiding individual pages. You simply have to open the right page to add the snippet of code.
Start by going to the Blog dashboard:
Click on the Blog Site for the blog page you want to hide and it will take you to a page like this:
But this time, instead of clicking on the 3 vertical dots, you’ll click the button for [Edit Blog Site] to open the blog’s home page builder:
From here, follow the steps in Option 1 above to add the code snippet to the Head Tracking Code box and save/publish the page.
FAQ
How do I hide things like forms, calendars, etc. from search engines?
Anything on your branded links (like forms, calendars, etc.) are hidden from search engines by default, so you don’t need to do any extra steps. But once you add a form, calendar, or similar to one of your web pages or funnel steps, then it becomes visible to search engines if the page itself is visible to search engines.
So if you haven’t added it to any pages, then it’s already hidden. If you add it to a page that you want to keep hidden from search engines, then follow the process above to hide that page or site/funnel/store.