How can we help?
How To Access And Modify Your Domain’s Sitemap
Every proper website needs an XML sitemap to help search engines and other “good” bots know what’s included on your site and easily navigate it (so it can properly help humans find the things they’re looking for in search results.)
Your Fern CRM account creates a separate Sitemap file for each of the “site domains” you connect to your account. (The domains you see in the dropdown menu when publishing a website, funnel, etc. NOT the subdomains you use for forms, calendars, emails, etc.)
In this article, you’ll see how to access the Sitemap settings and choose which pages you want to include in the sitemap for each site domain connected to your account.
Open Sitemap Settings
First, open your Fern CRM dashboard and go to the Settings side:
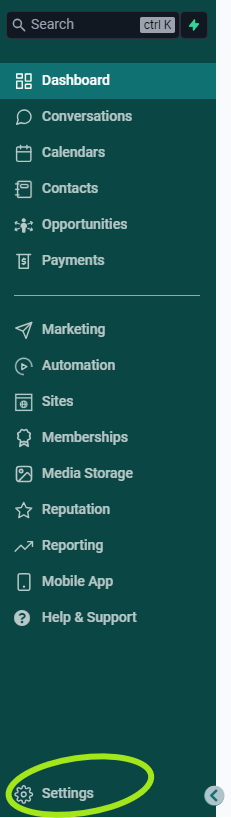
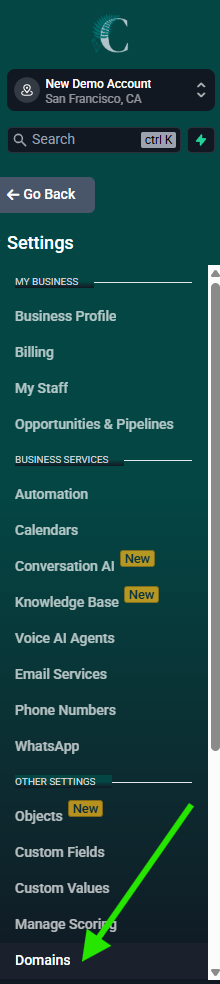
From there, find “Domains” in the left sidebar (only visible in the Settings sidebar, not the main sidebar) and click it to open the Domain settings:
Once you’re on the Domains page, you’ll see a list of the domains you’ve connected to your Fern CRM account.
For each site domain you’ve connected (the domains that show up in the list of options when you publish a webpage, funnel step, etc.), you’ll see a row that lists the site domain on the left, subdomains in the middle (your branded links subdomain and client portal/community/courses subdomain, if you’ve set them up), “Connected Products,” and a button that says [Manage] on the far right.
Our demo account doesn’t have a domain connected, so we don’t have a screenshot of the whole view. But, if you have even one site domain connected, you’ll see your domains listed on this page and something like this on the right side of each one:
(If you have more than one site domain connected to your account, you’ll see a [Manage] button for each site.)
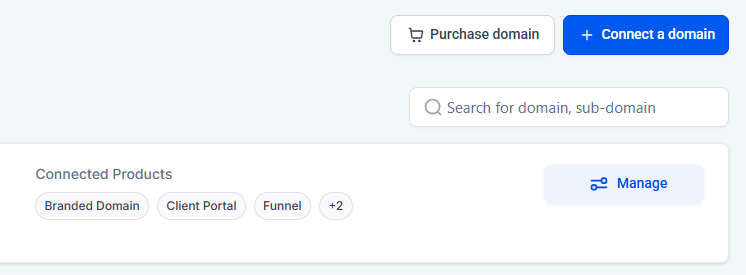
Click the blue [Manage] button to open the settings for that site and it will open a page that looks similar to this at the top:

Below this top part, you’ll also see any subdomains you’ve connected, but the Sitemap is only available for the main site domain you see at the top of the page.
Find the 3 vertical dots on the right side (to the right of the “Action Required” column, after “Set default 404/Error Page) and click them to open a dropdown menu that includes XML Sitemap as one of the options. Choose XML Sitemap from that menu and it will open a popup window that shows your Sitemap settings that looks similar to this:
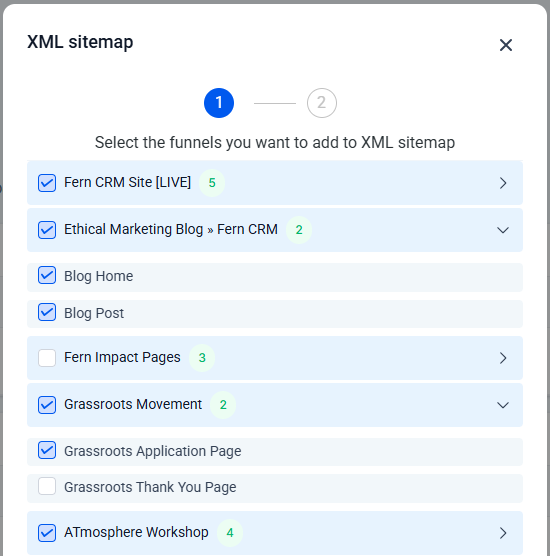
Your XML Sitemap menu will show all the website “folders,” funnels, stores, and blogs that are built in your Fern CRM account. When you click on a title, it opens a sub list of every page or step included in that website, funnel, or blog.
By adding a checkmark to the title, it will select (and checkmark) all the pages in the sub list too. You can also select and deselect titles or individual pages to include them or remove them from the Sitemap.
For example, you can see in the screenshot above that we include all of our blog pages in the sitemap, but our Grassroots Movement funnel shows the sales page but not the thank you page. We hide the Thank You page from search engines, so we don’t include it in our Sitemap.
You can edit these settings anytime and save them again and again.
Every time you publish a new page, website, funnel, or store that you want to be visible in search engines, you should pop over to your XML Sitemap settings and add a checkmark to include it in the sitemap file.
In the bottom right corner of this popup window, there are 2 buttons. The first one (on the left) is white and labeled [Cancel] while the second one (on the right) is bright blue and labeled [Proceed]. When you’re done, click the blue [Proceed] button to save your changes and continue (or click Cancel to go back without saving.)
That’s it!
Your new XML file will be generated and visible to search engine spiders.
FAQ
Do I need an XML Sitemap file for my courses, communities, branded links, etc?
Nope. Only pages published in your funnels, websites, stores, and blogs need a sitemap.
There isn’t an option inside the Fern CRM dashboard to create a sitemap for anything else, including pages published on another platform. But you can always write an XML file from scratch or use another tool to help you write an XML file if you feel you need a sitemap for any of your other subdomains. This is an unusual situation, so don’t worry about it unless you have a need for it.
Which pages belong in the Sitemap and which should be excluded?
In most cases, if you WANT a page to be SEO and visible on search engine results pages, it belongs in your Sitemap.
If you are hiding a page from search engines, exclude it from your Sitemap.
SEO-friendly: checkmark and include
Not SEO-friendly: uncheck and don’t include